After coming back from Europe this past summer and lugging more photo equipment than I ever have in the past, I started to give some serious thought to the emerging world of mirrorless interchangeable lens cameras. After a few days of research I settled on the Olympus OM-D E-M5 and initially paired it with the 12mm f/2.0 lens
. Since I shoot mostly landscapes, I thought a nice wide prime would be the best to start with. What I didn’t expect was that 5 months later the OM-D would be my go to camera, and I would only grab the DSLR a handful of times (mostly out of feeling bad for it).

Around the internet you’ll hear people saying different things about mirrorless — electronic viewfinders stink, you can’t get shallow depth of field, the quality/speed/focusing just isn’t there. While all of that may have been true over the past couple of years while the technology was improving, I seemed to have lucked out, entering the market when a lot of those problems have been solved.
That said, there are definite pros and cons of the OMD as opposed to my DSLR. There’s also a bit of a technology curve to be overcome with the OM-D (this FAQ helps) Since I know how to operate a camera I thought I’d pop the lens on there and shoot away, but it did take me a week or two to really become familiar with the menu system and how to move around properly.
Things I love about the OM-D —
- In body 5 axis image stabilization. Can’t say enough about this one. I can easily take pictures down to 1/20 of a second handheld.
- Electronic viewfinder. Seeing what your picture is going to look like before you take it is nothing new to someone who uses the screen on the back of a point and shoot, but there’s something about framing your image in the viewfinder (like you’re used to coming from a DSLR world) but being able to see the exposure of the image change when you change parameters or dial in some exposure compensation. In tricky lighting situations I don’t miss a shot anymore. I don’t have to take one shot, check it, and realize it was way underexposed due to strong backlighting.
- Tilting OLED touchscreen. A couple of things I thought I would never really care about on a camera — a tilting screen and the ability to swipe through photos. I have to say I enjoy both of these features a lot. When I’m using a tripod I use the screen to compose my shot most of the time now. The tilting is especially nice if I’m taking something at a lower angle.
- Seamless use of the screen on the back and the viewfinder. Olympus put a little sensor up by the viewfinder to 1. turn it on/off when you raise the camera to your eye (this saves power and makes it really feel like a DSLR) and 2. to turn off the live display on the back as you raise the camera to your eye and move the display to the viewfinder. I find this to be a slick little feature, even though I only really use it in the first way mentioned. There’s also a nice button right next to the viewfinder to manually push the display to the back screen. I use this all the time when I hand someone else my camera to take a picture since people are more used to framing on a large screen. That said, I’ve handed this camera to more friends than I’ve ever handed my DSLR to, and even had them use the viewfinder to frame shots, and I haven’t heard a complaint yet (and I have more keepers than ever with other people taking a picture).
- Face detect. I know some of the newer DSLRs have this kind of stuff if you use a live view mode, but to me, the live view on DSLRs is always a bit clunky, something thought about much after the the fact and not built from the ground up.
- Live view long exposure – This is such a cool feature! I can literally start the camera on a long exposure (imagine some kind of night time scene with cars coming through and a sky that might take about 30 seconds to expose) and watch the scene being built up, then stop it when I think it looks good. Check this video out for this feature in action. Another cool thing about the long exposures, if I’m taking a night scene and I don’t know how long the exposure will be to get a nice sky, I can dial in my exposure, say f/8 at 10 sec and then keep increasing my exposure time until the camera reads a “proper” exposure, and it will actually show me what a sky will look like with a 30 second exposure. That’s pretty amazing to me (and was a bit of a shock the first time I noticed it).
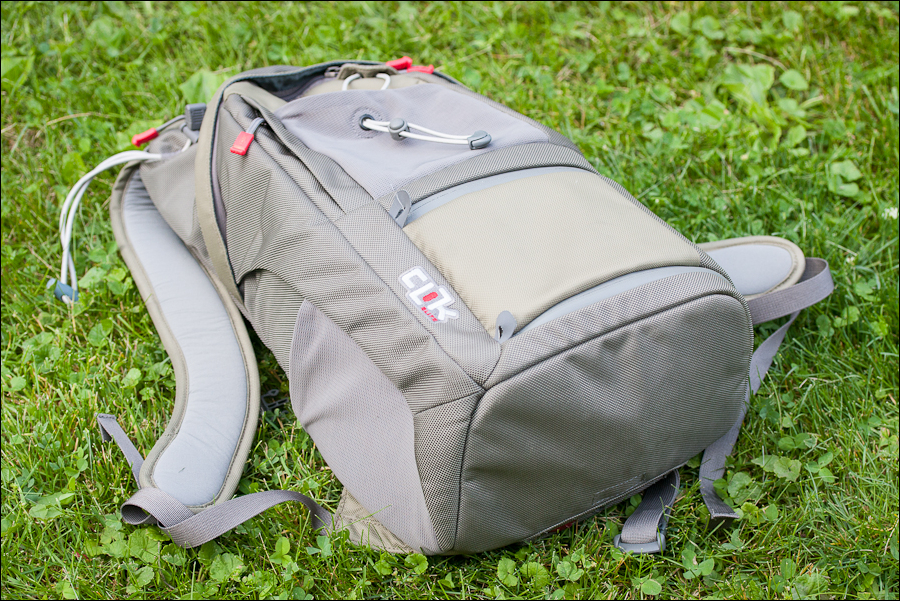
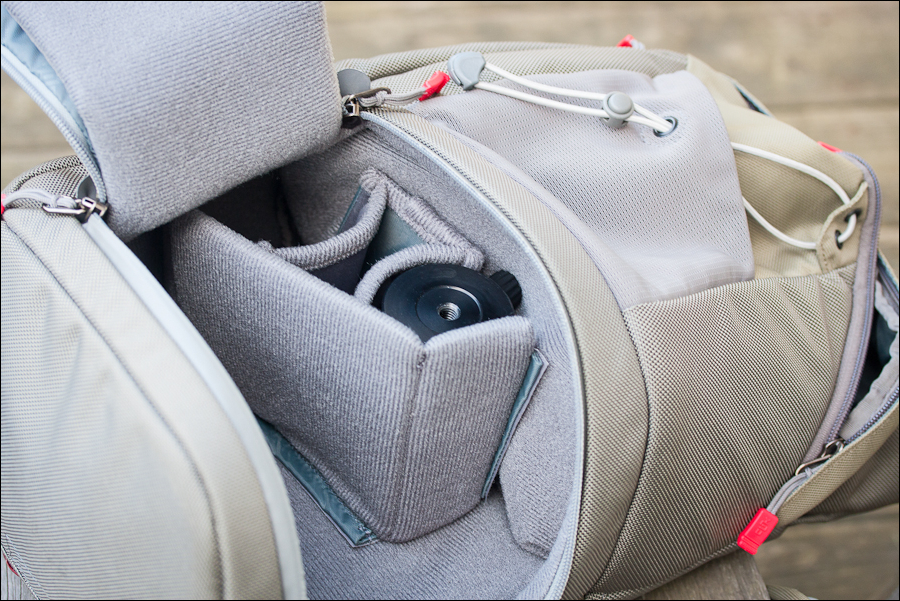
- The size! I can’t stress this one enough. This camera doesn’t intimidate people. It doesn’t break your back carrying it around all day (even with a wide array of lenses). I’m able to carry this camera and a couple lenses in a small old DSLR shoulder bag that fits in my backpack that I bring to work with me every day. That means I always have my camera without having to think about it.
- Awesome SMALL lenses. I admit that when I started down this road I told myself I’d just get one lens to start out with. I don’t think it took more than a week or two and I had bought my second. At the time of this writing I have four with my eye on a fifth. The crazy thing is that the majority of them are extremely high quality FAST lenses that all fit in the palm of your hand.
- It’s quiet. Compared to the mirror slap in a DSLR, all you hear in the OM-D is the shutter. While it’s still a very noticeable sound, it’s nowhere near how loud the mirror slap sounds in a semi quiet church during a wedding.
Things I miss about using my DSLR —
- Scrolling through images on the DSLR was lighting fast. I can’t say the same with the OM-D. When you’re taking lots of images and sometimes time lapses, the ability to scroll from image 1 to 376 in a flash is very nice.
- On the DSLR I was able to physically separate my focus/metering button and my shutter. I haven’t found such a way to do that on the OM-D.
- Even though the DSLR was big, it had a nice hefty grip on it. I always felt that I had a good hold on the camera. I actually like using the OM-D without a strap a lot, since it’s so small, but the potential to drop it seems high since it doesn’t have a big chunky grip (some of the newer models have added a grip).
As you can see, there isn’t much that I really miss. This was even a surprise to me as I went on this mirrorless journey. I still use my DSLR for a few things, but I will for sure never travel with it again. I also outfitted the OM-D with a Lance Camera strap (I honestly wish I had changed to something like this for my DSLR years ago). I mentioned that I added a few lenses since the beginning, here’s the entire list.
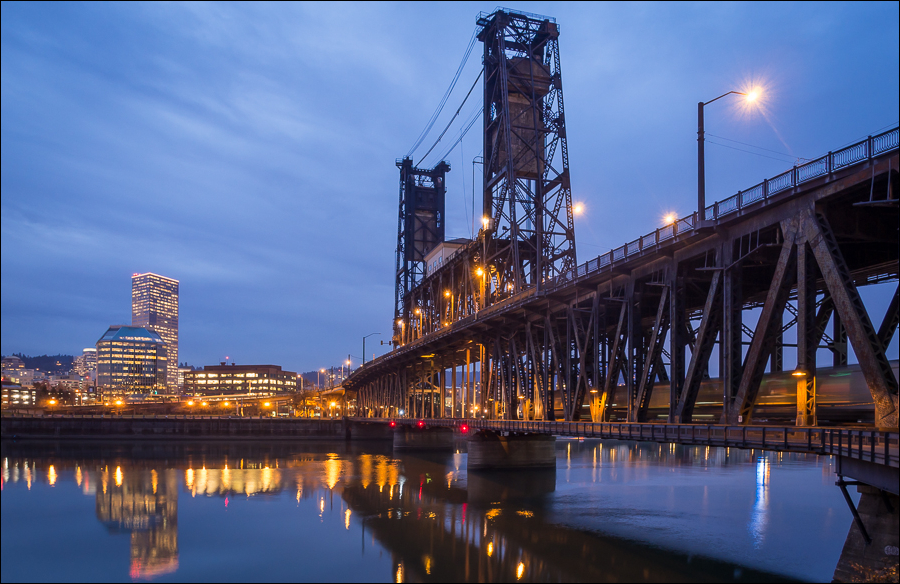
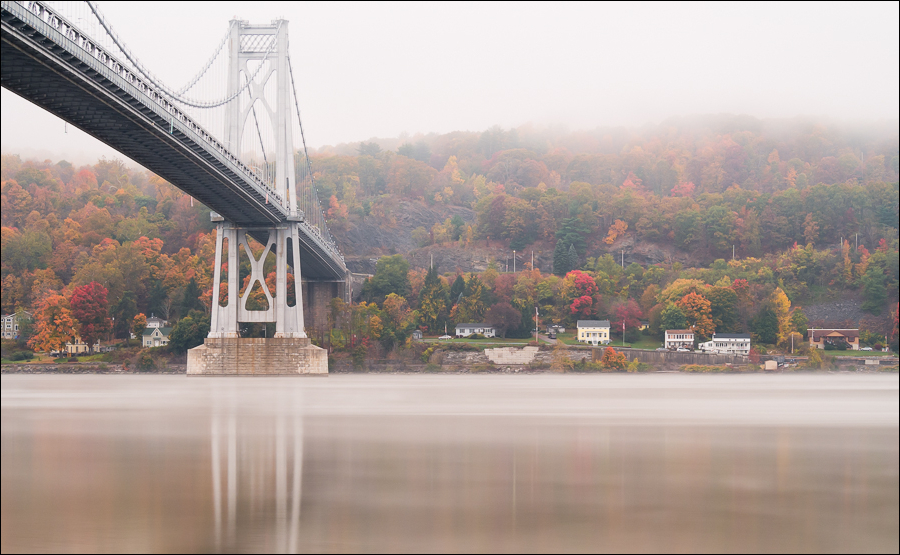
Ok. Enough talk! Here are a handful of shots from the OM-D in the past 5 months. Some are my favorites, some are just snapshots that I think really reflect the quality the micro 4/3 system.
Panasonic 25mm at f/1.4 | 1/25 sec | ISO 3200

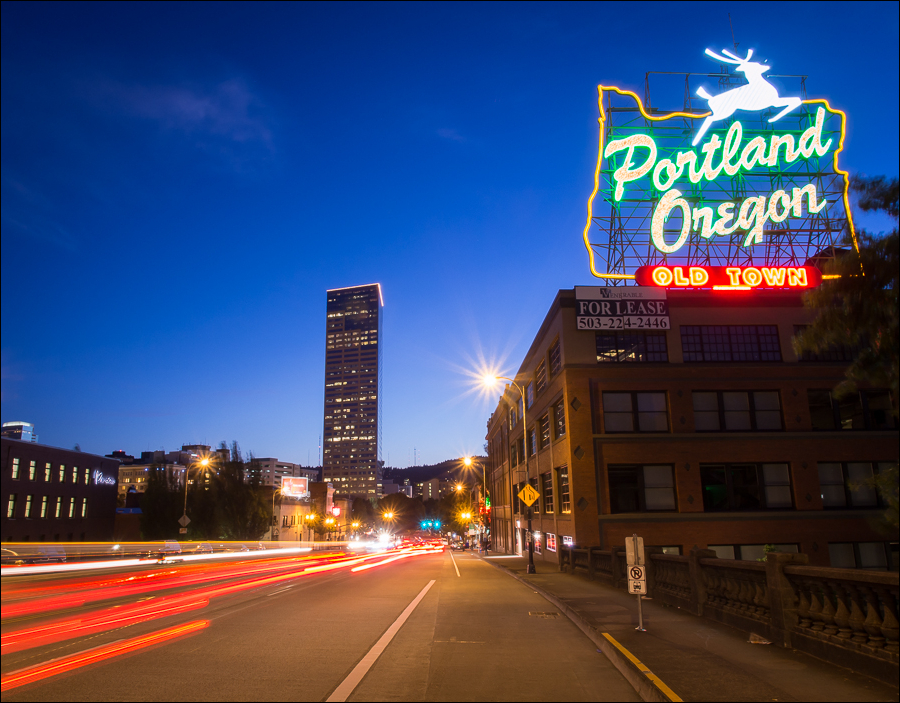
Olympus 12mm at f/6.3 | 3.2 sec | ISO 200
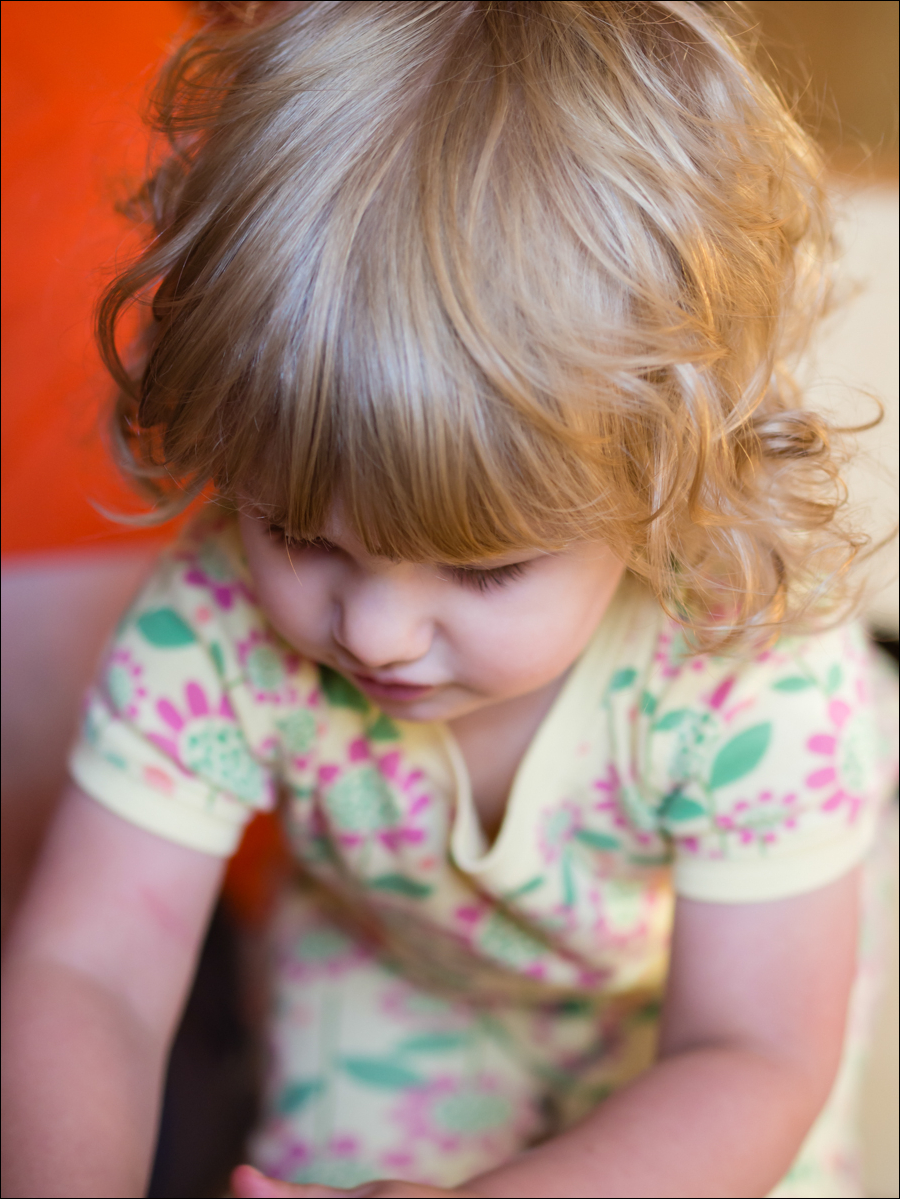
Panasonic 25mm at f/1.4 | 1/20 sec | ISO 200

Olympus 12mm at f/2.2 | 1/100 sec | ISO 200

Olympus 40-150 at 45mm | f/7.1 | 25 sec | ISO 200
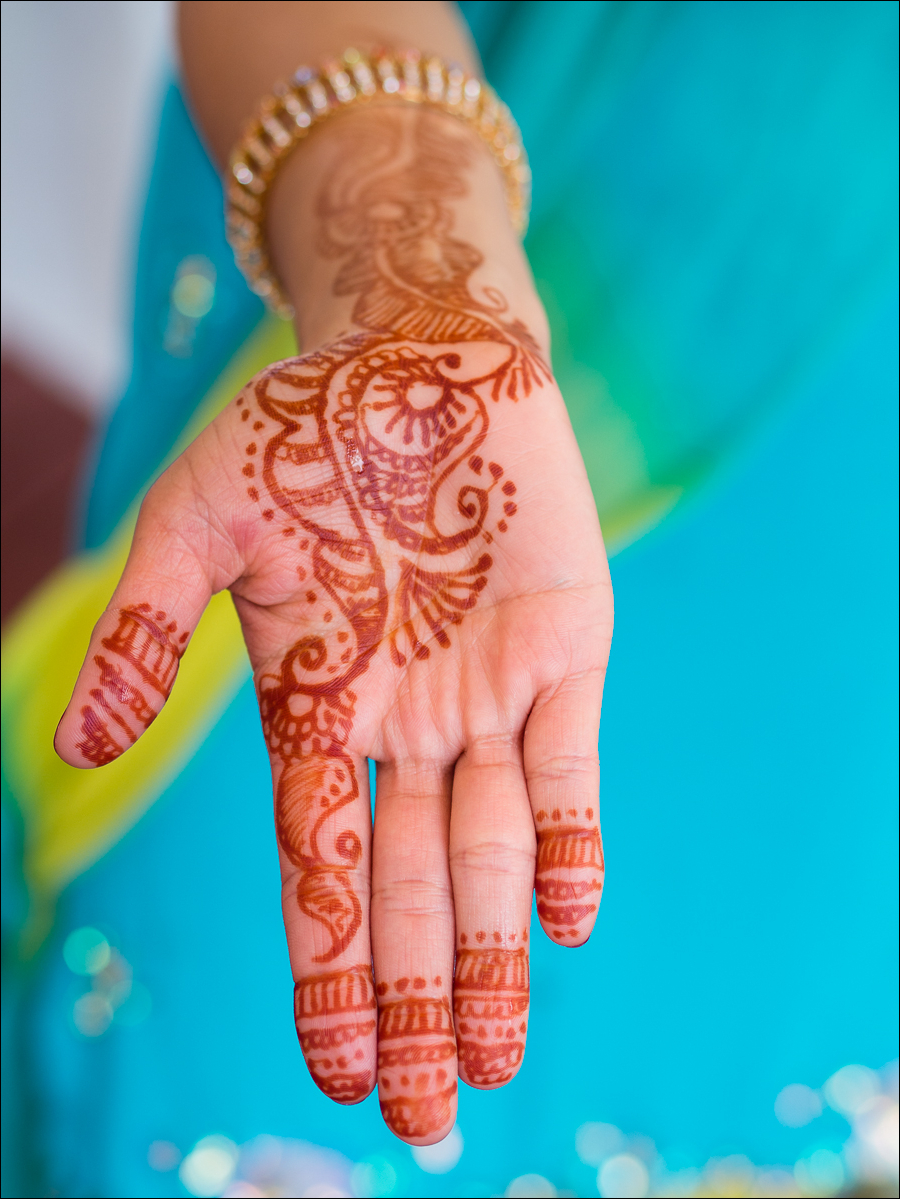
Olympus 45mm at f/2.0 | 1/400 sec | ISO 200

Olympus 45mm at f/2.0 | 1/320 sec | ISO 200
Olympus 12mm at f/10 | 5 sec | ISO 200
Olympus 45mm at f/1.8 | 1/125 sec | ISO 500